STORY AND PHOTOS: CASEY CORDEIRO
Did you enjoy driving over that razorback?
No matter how many times we have been to the sand dunes, they are always changing and throwing curveballs in our driving line. This fact alone has to be one of the best things about riding in the dunes—no two dunes are ever the same. The challenge is addictive, and the natural roller-coaster ride for hours on end ain’t bad either.
With ever-changing dunes, there are countless ways you can attack the terrain. And, while everyone has their own driving style, several basics apply to driving in all sand-dune locations around the world. We rounded up five of those basic principles for this article, starting with one of the most important for duners: momentum. Without further ado, let’s get started with these five helpful driving techniques that can assist all of us in being more observant and better overall sand-dune drivers.
TECHNIQUE No. 1—It’s all about the MO, aka momentum
More than any other off-road terrain in the world, sand duning is all about a vehicle’s momentum. Not only does the art of keeping up your momentum through the dunes enable you to make smoother transitions and glide effortlessly through the sand, but it also allows you to take the smoothest lines without fear that you’re going to drop deep into a bowl or down a steep transition and get stuck.
Duners will argue that it is difficult to find smooth lines to keep up your momentum, and that is true with some dune fields. However, 95 percent of the time, there is a smooth line to take through dune transitions. As long as you actively look through the dunes, you’ll always be on the search for the smoothest lines. Finding these smoother transitions will help you keep up your speed and, thus, increase your momentum when duning.
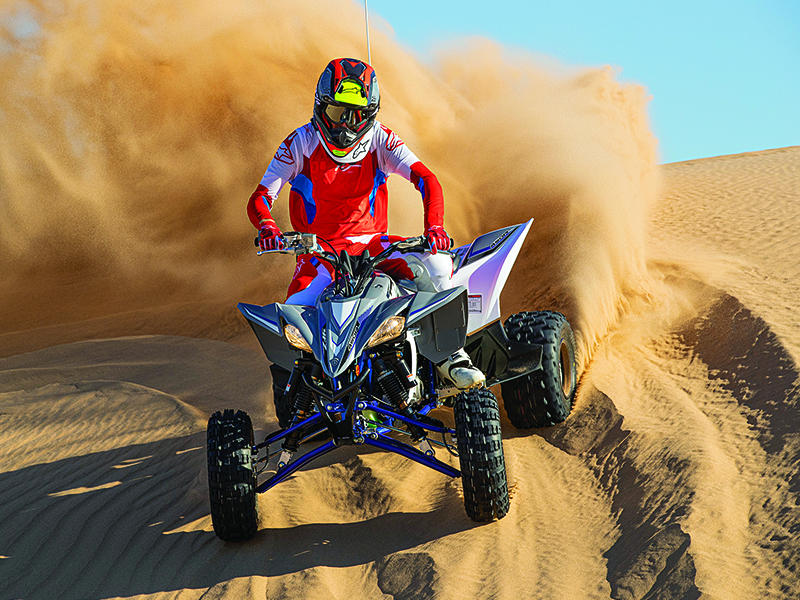
By the way, when I say “driving through the dunes,” that is not a typo. The best duners are looking at least three to four dunes ahead to pick lines and search out the best transitions as they travel from dune to dune. The more you dune, the more you acquire this sense of dune flow and proper line selection. So, here’s your excuse to get out there more! You’re welcome.
Keep in mind, you need to keep up your momentum, but when you need to slow things down for upcoming obstacles, front brakes are not your friends on a quad or dirt bike (at least most of the time). Grabbing the front brakes in the sand makes the nose dive heavily, thus putting you on or over the handlebars. Unless of course you simultaneously grab the brakes and move your weight over the back wheels on the bike. In a UTV or buggy, the additional weight and length of the vehicle allow the factory front-biased brakes to work better and stop you immediately, and you don’t have to shift your weight in the vehicle (obviously you can’t in the seat). This is even more reason to do your best to read upcoming terrain to the best of your ability.
TECHNIQUE No. 2—Razorback Transitions
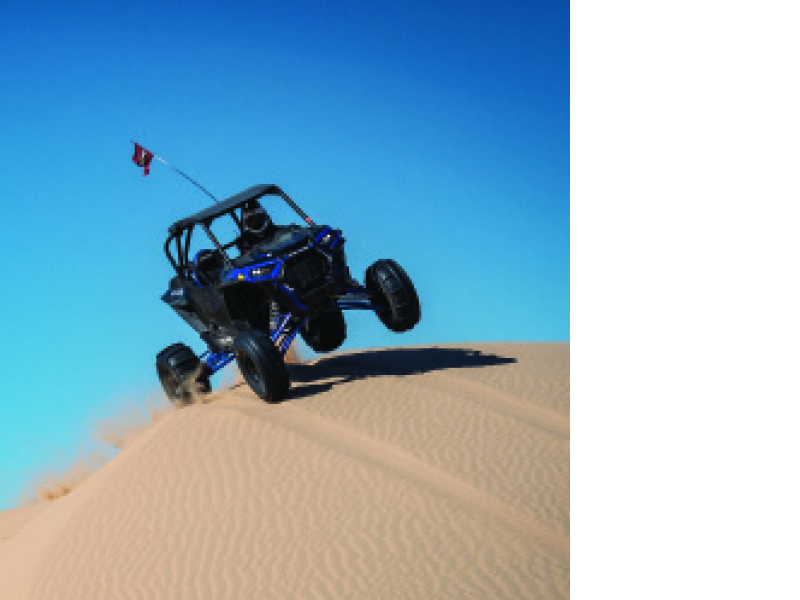
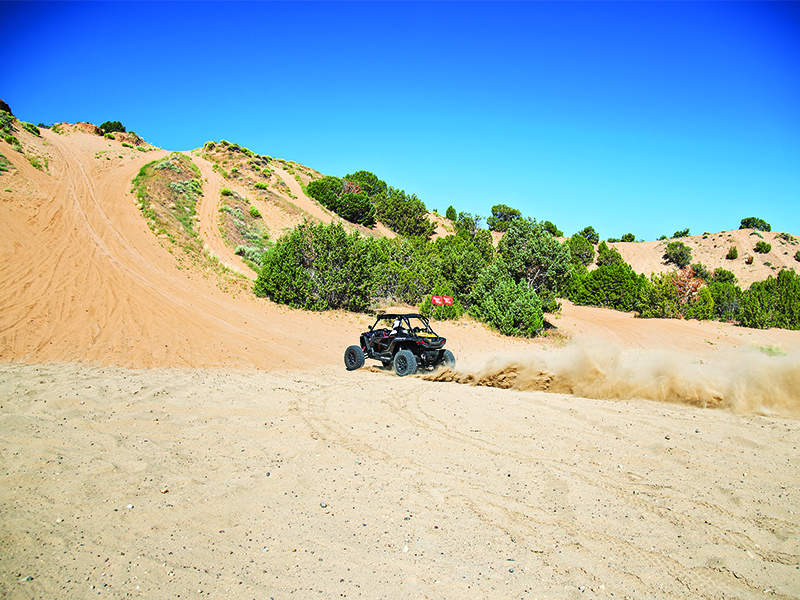
Tackling steep and, specifically, razorbacked transitions can be one of the most intimidating parts of duning. You’ve seen the wind-swept ledges—commonly known as razorbacks to duners worldwide—and their steep up-and-down transitions. There are a couple of keys to making quick and easy work of razorbacks.
First, you need to utilize the first technique of momentum to your advantage. The key to approaching the razorback is to come up to it parallel and not straight on—this effectively allows you to see the steepness of the transition and what is on the other side. You need more momentum to come up to a transition like this because you are side-hilling the dune (more on that in a minute), so make sure you can attack the bottom of the hill with enough speed to get up to the razorback and take it in a parallel formation. Plan your escape route before tackling the hill—ask yourself: Is the transition back down the hill OK if I can’t make it over the razorback? If so, make a go at it.
When transitioning over a razorback, you’re going to first check to make sure the coast is clear as you approach the top in a parallel fashion. If the coast is indeed clear, steer slightly into the razorback so you put the high side of the vehicle over the razorback first. (In a pinch, holding the two high side tires just over the edge of the razorback will actually hold you up there so you can look over the side, or you can use this as a side-hilling technique. Be sure the tires are just over the razorback and that you don’t put the middle of the vehicle on the steepest part because this will cause you to high-center the vehicle, potentially.) Once the coast is clear, easily steer yourself over the ledge so you don’t high-center the vehicle. Easy does it on the throttle too. Not enough throttle will cause you to dig in, and too much could make the vehicle become twitchy over the ledge.
Find smaller razorbacks to practice on, preferably those with one steep side leading to a flat top of the dune. This will allow you to get a feel for the amount of momentum you’ll need to make the transition and the correct way to approach the top in a parallel direction. These transitions might be one of the most difficult things to tackle in the dunes, but you’ll be a pro in no time.
TECHNIQUE No. 3—Hill Climbing
Who doesn’t like hill-climbing?! Actually, some duners couldn’t care less about testing their horsepower because duning is so much fun. However, most of us want to test our motor’s capability at some point. Hill climbing in the sand can easily gobble up power, but if you know how to attack the transitions at the bottom of the hill and keep up your momentum, you’d be surprised how many hills you can climb in the dunes.
Remember when the Yamaha Rhino was all the rage in the dunes? With just over 20 horsepower to the wheels, I remember getting our long-traveled Rhino all over the dunes—it just took momentum and smooth lines, and you could get it virtually anywhere. The same thing applied with VW-powered buggies, which are still a blast to drive to this day. No matter how much horsepower you have, the concept that the Rhino teaches you applies: Smooth lines make you go faster and, thus, get you up the hill faster. Choose your line wisely when attacking hills, taking note not to attack a section of whoops or steeper transitions if you want to get to the top with the most speed. I learned it from one of my favorite movies, but this has become my most used driving quote when I’m teaching people how to drive in the dunes: “Slow is smooth; smooth is fast.” Find the smoothest transition at the bottom of the hill, along with the area that allows you the longest run-up to the hill, and you should have plenty of speed to crest the top. If you’re not going to make it, don’t bury it. Turn around while you still have enough speed so you don’t have to worry about burying the tires and backing down.
If you’re starting a race at the bottom of a steep hill, you’re going to want to grab speed as fast as possible, especially if you have a whoop section in front of you. A manual clutch or launch control system (like that found on the Yamaha YXZ1000R) really help with this activity, but you can launch fairly hard with a CVT transmission too. No matter what you have, the key is to launch as hard as your machine can take so you gain enough speed at the start to get up on top of the whoops (if present). Start in a gear too high (usually second on a quad or motorcycle), and drop the clutch hard with a good amount of throttle. Make sure you upshift at least one gear before you get into the whoop section. This might seem like it will lug the engine, but when you combine paddles and a torquey engine, you’ll actually grab more and accelerate harder with a bit less wheel speed to get that “digging in” sensation instead of actually digging a hole in the sand.
Steps to success: Launch. Weight back. Grab gears. Let ’er eat!

TECHNIQUE No. 4— Night Riding
You’ve been to Glamis, right? If you haven’t, then you haven’t experienced one of the raddest duning locations on the planet because of the awesome lines and flowing rides that can be enjoyed at this ride spot. In addition to the awesome riding during the day, one of the Glamis pastimes that has to be experienced is night riding.
Night riding in the dunes requires you to use every technique you learn to use during the daytime and up it tenfold. The first key to night riding is having a decent set of lights. If you can see only 10 feet in front of you (been there, done that), your challenge is amplified even more. Get yourself a good set of lights on your vehicle. This is a whole other article on light technology and which ones to buy, but a good rule to follow is to put together a lighting setup that has a good combination of spread light for just in front of the vehicle and ample distance lighting to see out a bit. Combination light bars do a good job in an all-in-one setup, but the best lighting setups are a combination of distance lights and then separate spread pattern lights.
As I mentioned, many of the same duning techniques apply for night riding—you’re going to need to keep up your momentum as much as you can; transition techniques are imperative to have dialed in when riding at night; and making quick work of hill climbs is essential. Ride loose so you can be ready for anything; the hotshot drivers are usually the ones who get bit at night—don’t go flying off the tops of dunes. While this is a reality that has struck many in the past, riding at night is one of the most fun things you can ever do, especially with similarly powered quads or UTVs. There is nothing quite like night racing your friends through the dunes, wheel to wheel, throttle on!
TECHNIQUE No. 5—Sliding with Paddle Tires and Side Hilling
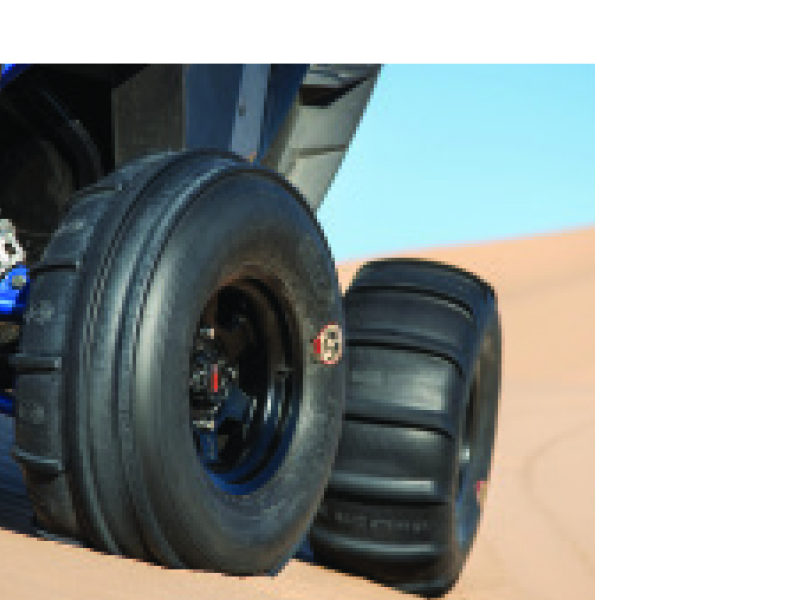
Many paddle tires are straight paddles, which are great at pushing you and your vehicle forward, but some aren’t the best at helping you turn. This is due to the fact that your paddles are literally pushing you in a forward direction. However, there are ways to slide your vehicle for better and more-fun driving characteristics, and straight paddles are essentially all we have for buggies and UTVs.
The first thing you need to do is determine exactly how much forward traction you have out of your tires, and when the tipping point is on your tires and vehicle combination. When we look at different UTVs, some of them are very planted with paddle tires, but they still have a tipping point where the inside tires in a turn get light and you feel like the vehicle is going to lift and possibly give you a rolling sensation. If you have a new set of paddles, test this limit slowly in a predetermined corner so you feel exactly how much speed, steering input, and throttle input it takes to get the inside tires light. Do this for both turning directions.
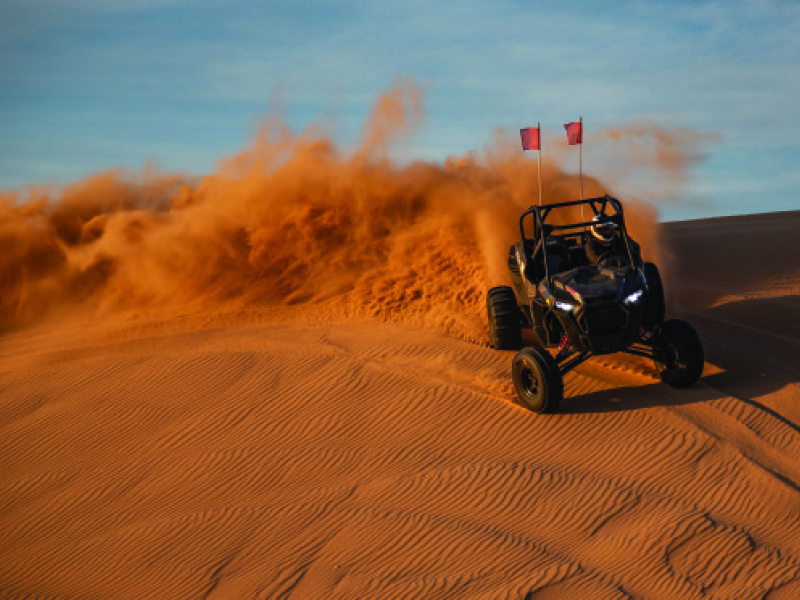
Once you have a better feeling of the vehicle with paddle tires attached, you can then determine if you want more ability to slide the vehicle, or if you like the straight-line traction enough. Getting the tires to spin with additional throttle input and a bit of a flick of the steering wheel will get most vehicles to slide. Stay on the throttle for more sliding action, but be careful not to get into a sticky situation with too much correction needed—keep an easy foot on the throttle the first couple of times. By starting slower, you’ll quickly learn how much throttle and steering input is needed to get your vehicle to slide. Like I said, start in the tight turns where the vehicle doesn’t slide too much, and you’ll find your tipping point. Then, once you have learned that dynamic, you can increase the speed to slide into and out of turns. Pick level areas at first to accelerate out of a corner to flick the rear end around. Gradually increase your speed, then graduate to sidehills.
A helpful hint is to simply keep your steering tires pointed in the exact direction you want to go. Many drivers overcorrect, thus making the vehicle flip-flop from side to side. Again, smooth steering inputs reward here. Keep it pointed in the direction you want to go, modulate your throttle, and hang on for some fun.
Here is another helpful hint when you’re sliding around in the dunes: Tire pressure is a major determining factor to how well you’re going to track straight in the dunes or slide around, no matter what kind of paddle tire you have. Less pressure in your tires means you’ll have more forward bite, thus more overall traction in a straight line—just be sure you follow the tire manufacturer’s recommendations so your tires aren’t too low. More pressure will give your tires a larger “balloon” so the entire paddle is not hitting the sand at one time, thus giving you less forward bite. At the end of the day, be careful how much tire pressure you play with. Changing pressures will alter handling characteristics of your vehicle. Find the sweet spot and fill it there every dune trip.
Side hilling a dune is also an essential technique. With enough speed and momentum, you can side-hill steep dunes with the back end hanging down. Some people don’t like the feeling, but doing this effectively requires you to combine the teachings of reading terrain multiple dunes ahead, a clear feeling for the handling of your vehicle (learn to drive from your butt!) and, of course, momentum. If you’re side-hilling below a razorback, don’t be afraid to hang your top front wheel just over the edge of the razor so you effectively “hold” yourself up there for as long as you want. This technique works great, or you can just use your momentum to hold you up toward the top of the dune. Be careful—steering up the dune while side-hilling will bite you if you steer too quickly to correct and the back (bottom) tire bites. Keep your momentum up and be smooth, then you’ll be able to side-hill like a champ for endless dunes.

CONCLUSION
These five essential duning techniques are a general overview of things you can apply to your driving techniques in the dunes. We hope these help you navigate through one of the most fun terrains to drive on the planet—you can bet we’ll be out practicing and slinging sand this season. We’ll see you out there!

